
SQL Select Statement: Tutorial
- Categories Data Management, Database
In this post we are going to learn how to make simple queries in SQL.
For the purpose of this exercise, we will consider this small table in a database:
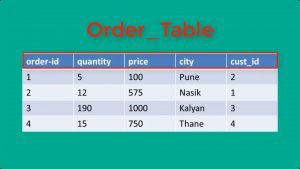
We will first learn how to insert a new row/record/tuple in a relation. If you see the syntax, we use INSERT INTO tablename command.

What is displayed in square brackets is optional. Column names can be skipped if we are inserting values in all columns of the table in order.

If we are entering data in only few columns, then number of column names and values need to match.
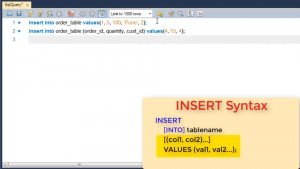
As you see, using this command we can add multiple rows to the table.
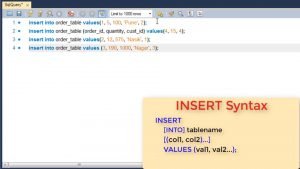
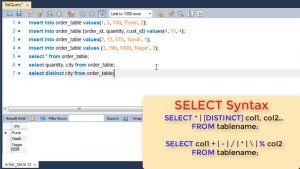
Once you have inserted the data, you can fetch data from a relation. The syntax for select is as shown.
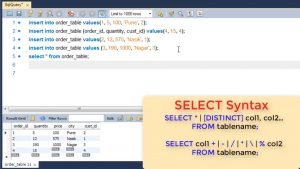
We can either use star to get all columns or we can specify individual attribute names to get specific columns.
For e.g. if in our table we mention * it will return all columns but if we specify only 2 attributes, then only those 2 columns are returned.

DISTINCT can be used if we want only distinct values to be returned. For e.g. if we want individual cities, we use DISTINCT command.
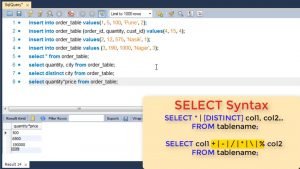
You can also use Mathematical operations between 2 columns. For e.g. if you want to know total amount of the order, you can use this syntax and use multiplication operator between them.
Any of the operators shown can be used where % refers to remainder or modulus operator.
Now in all of these select queries, all the rows or tuples are being displayed. If we want only select rows, we expand this query to include a WHERE clause.
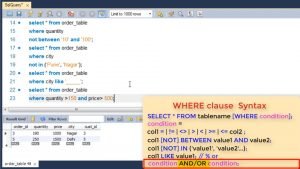
WHERE clause is used to specify a condition for SELECT. Now the condition could be any of the following. Let’s look at each one of them.
First is using relational operators. We can use equal to, less than, greater than or combination of these in our query. For e.g. if we want all rows which have city equal to Delhi we will use where city = ‘delhi’.
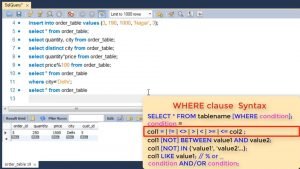
Or if we want all rows where quantity ordered is greater than 10 then we will use where quantity > 10.
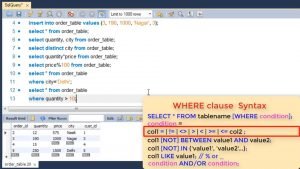
Do note the quotes for all non-numeric values.
Next is condition based upon range. Here we use the keyword BETWEEN if we want to select orders within a range.
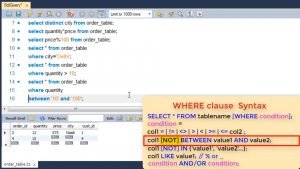
We also use NOT before between if we want the opposite result.
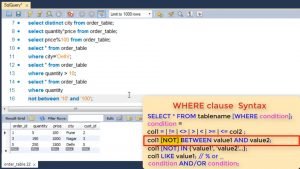
Next is condition based upon a list. If you want to select values which are part of given list. Let’s say all customers in particular cities.
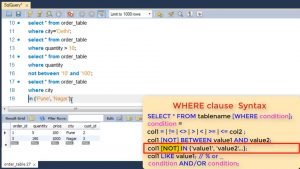
Here too you can use NOT if you want opposite result.
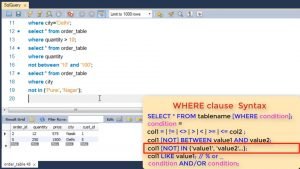
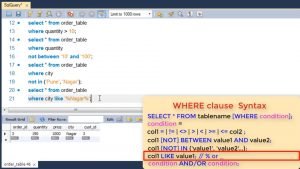
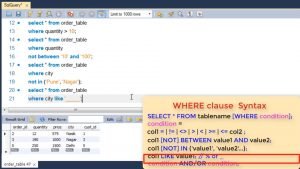
SQL also has a text matching operator LIKE where you can use wildcard characters like % or underscore. This can be used for pattern matching, like all address which have Nagar or all names of five letters etc.
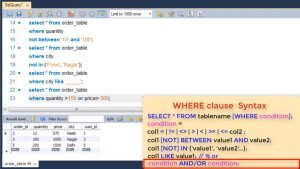
You can also use logical OR, AND to combine two conditions in where clause.
For e.g. showing all quantity > 150 and price > 500.

You can also use OR where you can give quantity > 150 or price > 500.
In a select clause like where you can optionally give ORDER BY clause. Here you specify the column on which you want the sorting to happen and whether it needs to be in Ascending or descending order.

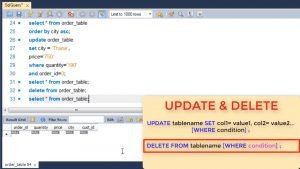
Once you have inserted tuples in a relation you update or delete them using similar where clause.
To update we use the Update tablename SET command where we give the columns and the revised values. The where clause tells which rows are to be updated. If multiple rows are selected, then for all of them attribute is modified.
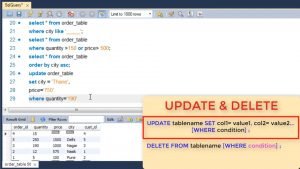
To delete we use delete FROM tablename command. If no where is specified it will delete all rows.
Check out our video: https://youtu.be/UqIaAgAW9uUta
You may also like

Index Commands in SQL
SQL: Join

