DDL Commands
- Categories Data Management, Database
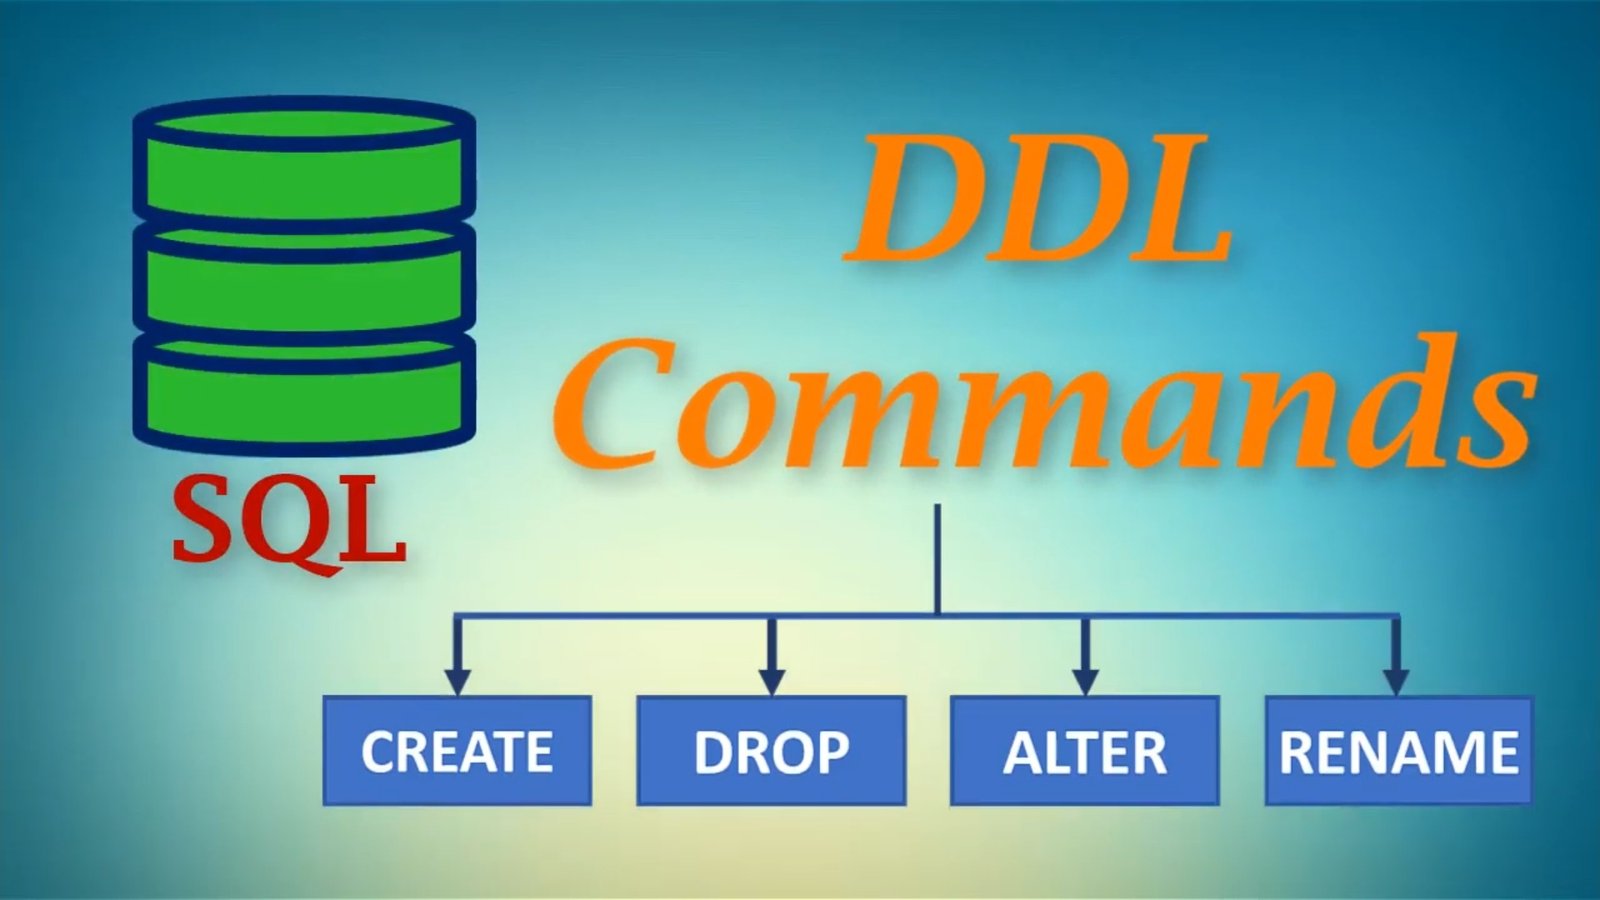
In this post we will learn some DDL Commands.
DDL or Data Definition Language is used to create and maintain the database and tables itself. To use these you should have admin privileges.

A RDBMS can have multiple databases and each of them have multiple tables.
As a first step we can create a new database by a simple CREATE DATABASE command with the database name. This command basically creates a new database.
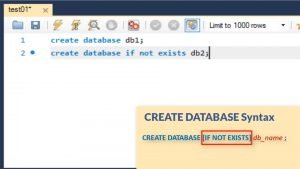
You can optionally give IF NOT EXISTS clause which first checks if a database with same name exists or not.
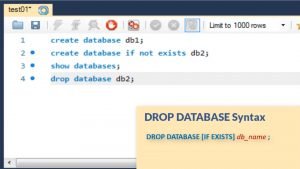
You can also use SHOW DATABASES command which will show the names of all the databases that exist in your DBMS.

You can also use RENAME command to change the name of the database if you want. If you want to delete, you can simply use DROP DATABASE command.
Once the data base is created, you will need to specify a USE database command so that RDBMS knows that the set of commands that will follow are directed to this database.

Now that our database is created, let’s learn commands as to how to create tables in it.
As you know, a table has multiple attributes. Like for student it can have name, address, phone no etc. Each of these attribute have a name and they also has a data type. A data type tells the RDBMS what kind of data to expect for e.g. is it numeric, decimal, date or character or very large image file? It helps the database reserve that much space when we actually fill the table with data.
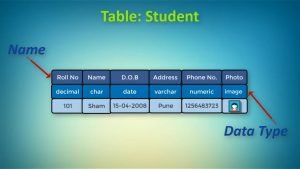
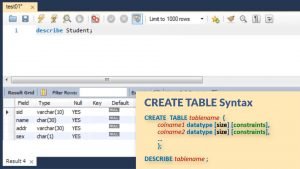
Once you have created a table, you can use DESCRIBE command or DESC for short to view its structure. It will show the complete structure of the table.
These are some standard ANSI SQL data types.
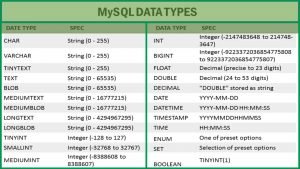
Their sizes might vary a bit depending upon RDBMS you pick up.
A numeric value can be integer or with decimal points. In decimals, we specify the display length and number of digits after decimal. Then there are date and time data types. For characters or text we have char data type for fixed length string and varchar for variable length string.
The difference between char and varchar is that char is of fixed length while Varchar helps to save space as it avoids blocking fixed memory, let’s say in case of address entered by the user. So places where you expect typically similar size like city, country you can specify char while where it varies like address, documents etc. you can set it as varchar.

Now that we have seen various data types lets come back to writing command to create table. The syntax for creating a table is as shown:
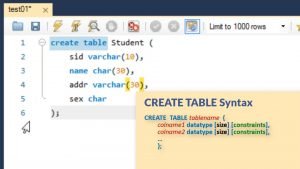
We give the command create table followed by names of attributes we want with their data types and sizes. This helps to create a table.
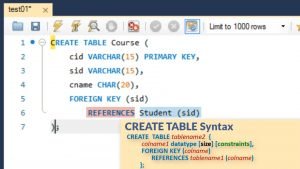
While specifying data type and size for each attribute, during creation we can also specify constraints. Lets learn what these constraints are.
SQL constraints are used to specify rules for data in a table
It is used to limit the type of data that can go into a table to maintain INTEGRITY of the table.
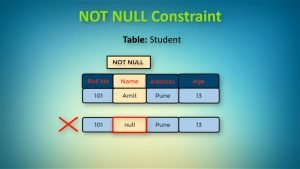
For e.g. if I specify the constraint NOT NULL then when we are inserting data in the table, then this column value cannot be NULL.
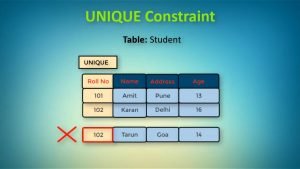
If we specify UNIQUE constraint, then all values in that column has to be different.

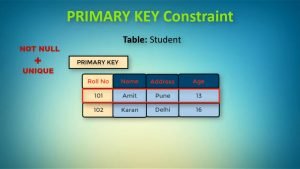
PRIMARY KEY is combination of NOT NULL AND UNIQUE constraint which uniquely identifies a row in the table.
Similarly we have other constraints like CHECK in which you can put in a check on data entered in.
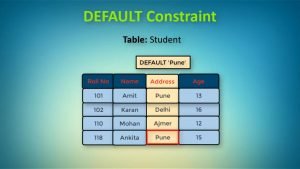
Then there is DEFAULT constraint which comes into effect if user does not enter any value for a particular column. Then the column value is automatically set to default value you specify.

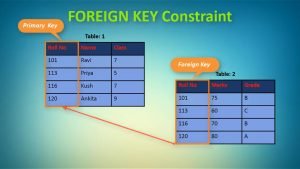
You also have foreign key constraint which refers to primary key of another table. So we will create this another table and here we use keyword references and after it we give the table name it references followed by primary key in brackets.
Once you have created a table, you can use DESCRIBE command or DESC for short to view its structure. It will show the complete structure of the table.
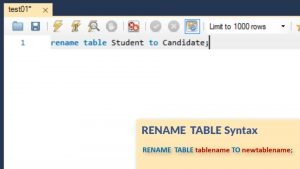
If you wish to rename the table, you can use RENAME TABEL Command or if you wish to delete, you can use DROP TABLE command with the table name.
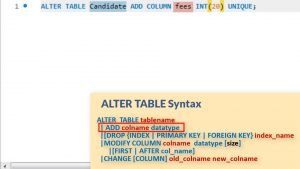
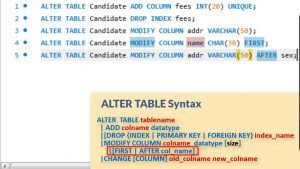
Now how do we modify our table once we have created it? For this we use the ALTER TABLE Command. We can use it to ADD or DROP columns or constraints as well. We can also modify datatype or its size by this command.
Lets use this command to add column and constraint to our relation. We will use ALTER TABLE, specify table name and ADD a new column, specify its datatype and optionally size with UNIQUE constraint.
Now we will use same ALTER TABLE command to DROP the UNIQUE constraint.
Same ALTER TABLE command can be used along with MODIFY to change the datatype , size or its sequence.
For e.g. here we will use ALTER TABLE with table name followed by modify and then column name with revised size.

And if I want to move an existing column to FIRST position, I will use the syntax and after modify give the column name and and then FIRST. I can also use AFTER columnname to specify placement after a particular column.

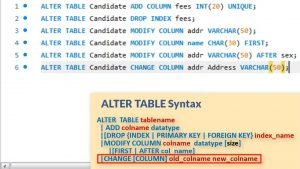
If you need to change the name of the attribute you will use keyword CHANGE after the ALTER TABLE statement and then give the currentname followed by revised name. You can also optionally give the datatype and size as well.
Check out our video:https://youtu.be/LzeeuDvhygc
You may also like

Index Commands in SQL

SQL Select Statement: Tutorial
